DIY Tips for Waterproofing Your Wooden Roof Deck
With the heatwave that is about to hit us here in Vancouver it might be a little bit difficult to envision a need to waterproof your roof deck. But really, is there a better time to waterproof your deck?
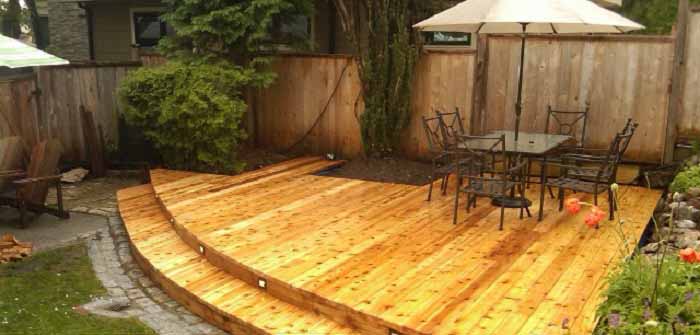
Typically, a roof deck is located over the garage or carport. Perhaps you have an office space that has the opportunity for a roof deck where the people at the office can sit and relax during their break, enjoy a little fresh air in an outdoor space. Some folks have their barbecues on their roof deck, or maybe a hot tub. Regardless of the use and the type of building that furnishes the much-desired roof deck, you need to protect that investment from the outdoor elements.
You would be surprised at just how damaging rain, wind, sun and even bird poop, can be to your wooden deck, especially plywood decks. All that exposure to the elements, and wildlife excrement, can make your deck drab and unappealing. Applying a waterproof coating to your deck will help to maintain the beauty of the wood, make it easier to clean and provide some traction for those enjoying the roof deck.
To ensure maximum protection for your deck, waterproofing is a detailed process that needs to be done properly. A good many deck are constructed to be waterproof with a sturdy roof in place but, for the purposes of this post, we will be discussing exposed roof decks.
Applying a waterproof coating to your deck is an affordable DIY project that can easily finished over a weekend if you are so inclined. With the heatwave we are going through, the timing is perfect for this kind of weekend project. This week’s post is a quick guide to the process of successfully waterproofing your deck for yourself.
Preparing the wooden deck
The most important step to take is to prepare the entire surface of the deck. Make sure you remove all the dirt and grime. Fill in all the cracks and holes recommended for the type of wood your deck is made from. Smooth out the filler, make sure you allow for everything to completely dry before proceeding to the next step in the process.
Ensure you have all your tools ready
Before you begin the task of waterproofing your deck you need to gather everything you will need to complete this project, and keep them close to hand. Reason being that once you begin the process, it is important that you not stop before completion. Aside from the basic tools of a clean push broom, a ¾ inch roller, a quality paint brush, a utility knife with a goodly number of spare blades, rubber gloves, and protective clothing like coveralls and some non-slip shoes or boots, you will also need enough roofing fabric to cover the entire area to be coated.
For the protective clothing and footwear, you are going to want to use things that you do not care about as there is a very good chance that whatever you wear will be ruined by the waterproofing material. If you are particularly sensitive to chemicals you should also wear a respirator. However, because you are working outdoors the fumes from the chemicals shouldn’t be too bad respirator or no.
Read the chemical instructions then do a test
Depending upon the type of deck waterproofing chemicals you are using, it is very important that you read all the manufacturer’s instructions, even if you used a similar product in the past. Doing so will ensure that you do not miss any subtle differences between brands. Make sure that you do a test patch in an inconspicuous part of the deck to make sure that the coating adheres properly and that the product meets your expectations of the overall look. If satisfied it is time to apply the coating to the entire deck.
Application time
It is time to start pouring the coating chemicals on the surface of the deck. Start at the far end of the deck, pouring out approximately 3 or 4 litres at a time. Using the push broom, spread the coating over a large area followed by using the paint roller to evenly coat the edges. The wood needs to be well saturated. Continue pouring the coating and spreading it quickly until you have the entire deck coated. Once that is done you are going to let the coating cure, undisturbed, for up to 24 hours or whatever the manufacturer specified in their instructions. Some people like to add a couple of layers even when the manufacturer of the coating specifies that only one coating is required. It all comes down to personal choice.
Applying topcoats
If the area in which you live experiences a lot of rain or snow it might be a good idea to add a skid resistant top coat. The process is pretty much the same; pour out the topcoat and spread it out evenly over the entire surface of your deck. Make sure that you give the skid resistant coating sufficient time to cure before using your newly weatherproofed, exposed roof deck.
Naturally, should you decide that you do not want to deal with the preparation work and mess of waterproofing your deck, feel free to contact us here at TOTL Building & Design for a quote.
