Do It Yourself Concrete Staining to Add a Little Color to your Floors
Just because winter is coming on doesn’t mean that you still can’t take on small projects that you can do yourself and aren’t that difficult. Something that isn’t that difficult, doesn’t require a lot of equipment and isn’t too expensive. Once you finish reading this reading this little D.I.Y. article you should be able to do this yourself over the course of a weekend.
What I am talking about is Acid Staining the exposed concrete in your home. Do you have an unfinished basement that could use a little sprucing up on the cheap? Sick and tired of looking at the cold gray concrete floors in the basement but don’t want to put out a bunch of money on carpet, tiles or flooring? Well staining the concrete might be the answer. How about the floor for your garage renovations, that getting a little dirty and stained by little drops of oil or tire tracks? Again, acid staining could be your answer.
Preparing the Concrete
Whether the concrete you want to stain is in the basement, garage or that covered patio in the backyard, you are going to need to prepare the concrete. Unlike painting or coatings, which can obscure a great many problems due to their opaque natures, acid stains are translucent and any left-over residues may remain visible under the stain. Of course, with a little artist planning one could always incorporate badly stained concrete into their design but regardless, the preparations done at this stage can and will have an impact on the finished project.
To prepare the concrete there are two methods that can be applied, depending upon the severity of cleaning required. There is mechanically grinding the concrete surface or you can obtain some specialty cleaners that are formulated to address grease and oil or for pre-existing coatings. Often you might be able to get these cleaners at your local hardware store or from the place you obtain your concrete stains. For grease and oil stains in the garage and driveway I recommend using an orange peel based cleaner.
Part of the preparation is in laying out your patterns assuming you are planning to use any. Patterns can be whatever you want them to be from scoring a masonry type grid into the concrete with a concrete blade and a skill saw to a sunburst design using elaborate cardboard cutouts. Once you have your plan and you have prepared the floor for it you can begin applying your stains.
Applying the Stain
There are several steps involved in staining your concrete once you finished your preparations and they are as follows:
- You are going to want to mask off the area you are wanting to stain, protect doors, walls and the like.
- Depending upon the type of stain you are using you will then need to dilute the stain to the manufacturer’s specifications.
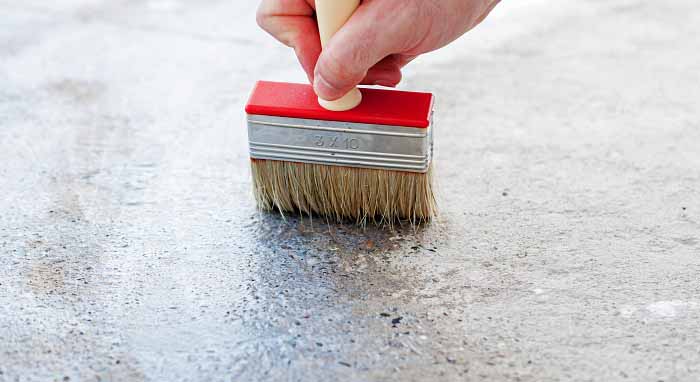
- Spray or brush on your first coat. If spraying your stain, there are several options as you could use an airless sprayer, pump sprayers and even a simple trigger spray bottle. For more detailed designs and patterns that require tighter controls you can brush on stains with sponges or actual paint brushes.
- Once you have applied your first coat you must let the stain dry. Drying times are dependent upon temperature, humidity and air flow but usually only 15 to 20 minutes are needed to be dry to the touch. Total cure time is usually 24 hours but consult the manufacturer’s specifications for precise product information.
- To get deeper, more intense colors, you may need to apply more than one coat. If this is the case, you may need to wait an hour or two between coats. Once again consult your manufacturer’s specifications for precise product information.
Removing Residue
Once you have completed the staining process you will need to clean up by following these simple steps
- If you used a water based stain you will need to rinse the concrete with clean water until the water runs clean.
- If you are not using a water based stain you may need to neutralize the acid with baking soda or ammonia. Water based stains do not require neutralization.
- You may need to apply a little elbow grease with a soft bristle broom to address any stubborn residue prior to your final rinse.
Protective Coatings
Once you have finished staining and have allowed for sufficient curing time, usually overnight will due, you should apply some type of protective coating. The kind of protective coating will greatly depend upon where the concrete is located as you may not want to use certain types of chemical sealants inside your home. Another thing to take in to consideration is what kind of traffic the floor is going to receive and how many coats of sealant you need, and just how glossy you would like it to be.
A Few Things to Remember
You do not want to prepare your concrete by giving it a muriatic acid wash prior to staining. Muriatic acid depletes the lime in the concrete and it is the lime that reacts to the acid stain and as such, this will have a negative effect on the coloring of the concrete.
If your acid stain requires neutralization make sure you do a thorough job because if the acid is not neutralized properly it may have a negative effect on your sealants.
Do not try to acid stain new concrete. New concrete needs a minimum of 14 days to cure before applying acid stains to it and most manufacturers recommend a minimum of 21 days. I recommend erring on the side of caution.
